Propeller Installation – Editorial: Rescues at Sea that should not have been Necessary
From the Masthead
I’m pleased to announce that the dates for the third Trawler and Motor Vessel Technical Training Workshop have been established, the event will take place on October 3-4, in Deltaville, Virginia. You can learn more by visiting www.stevedmarineconsulting.com/trawler-workshops . Please also view our flyer.
I’m also pleased to share with readers a special discount available only to SDMC Ezine readers, from Top Shelf Marine. I’ve known and worked with the folks at Top Shelf for years, they are a class act and offer innovative and useful products. You can learn more about the offer by scrolling down. Regarding this offer, readers will no doubt be asking themselves, ‘What’s in it for Steve?’ The answer is, satisfied readers, and nothing more. I receive no commissions or compensation from any manufacturer, of any product offered or mentioned in the Marine Systems Excellence Ezine. If the day comes where I do, rest assured, I’ll make it amply clear to my readers.
This February two mariners were plucked from their 43-foot Australia-bound sailing vessel 150 nm off the coast of New England, in the midst of a blizzard. That sentence alone is rife with red flags, ’43-foot sailing vessel’, ‘New England’, ‘blizzard’ and ‘January’ simply aren’t words that should be used together by any prudent mariner, unless in the course of an educational, i.e. ‘Don’t try this at home’, analysis. The crew of two (if ever there was a society full of seemingly natural born sailors, Aussies are it, making this even more inexplicable) purchased the boat on eBay for $10,000. “We’ve never done anything like this. Dad’s not even a sailor, but he’s a quick study,” commented Jason McGlashan in an interview with the Newport [Rhode Island] Daily News. ‘Nuff said. A Coast Guard helicopter navigated through low visibility and near-hurricane force winds to affect the rescue, conditions at the time were 25-foot seas and 60 mph winds. Kudos to the brave air crew who completed this mission.
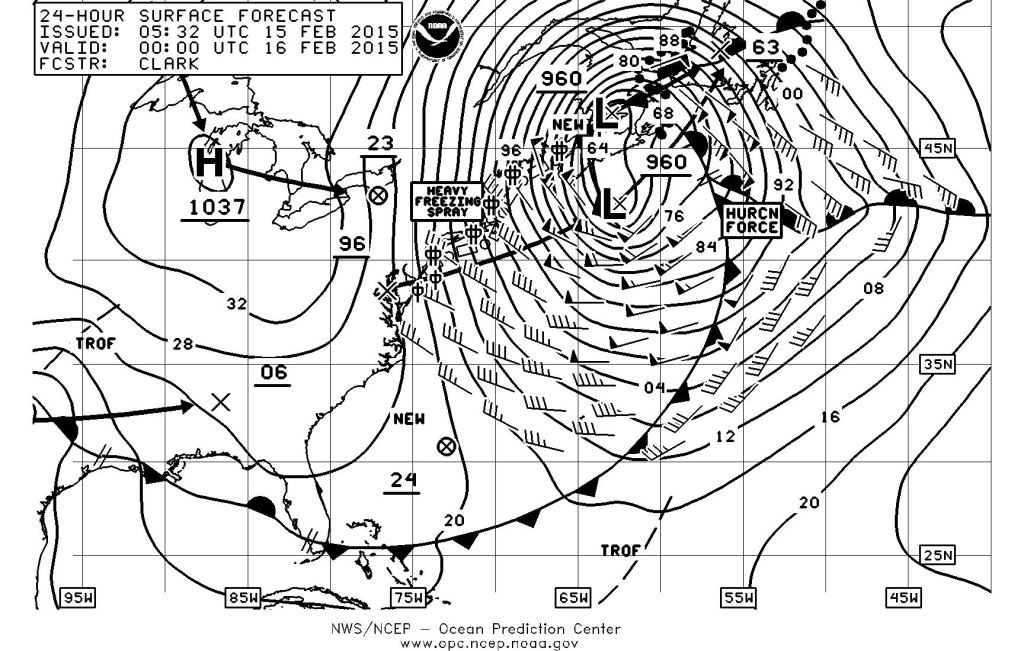
Among other features, the compact barometric pressure gradients, and ample wind feathers on this sea surface weather map, centered over New England during the ill-fated voyage, should strike fear into the heart of any prudent mariner
I wish I could say that these folks are the exception. Sadly, however, they are not. Each winter, and during often clearly predicted equinoctial gales, mariners who exercise very poor judgment are snatched from vessels (nearly all of which are conspicuously floating on their lines) along the US East Coast. Last January a catamaran was abandoned in much the same manner, off North Carolina, it was a new boat (on a veritable shake down) with a professional skipper. Lucky for these folks, the region has what is likely the most complete rescue safety net in the world, which includes Coast Guard, Navy and Air National Guard assets among others. The rescue personnel, many of whom I’ve spoken with during annual Naval Academy Safety at Sea symposiums, love what they do and never ridicule those they rescue. That’s a credit to their professionalism, however, they are being placed in harm’s way for little or no good reason, and there has been loss of life among these dedicated pros while performing these rescue feats. And then there’s the issue of the cost to the taxpayer, helicopters and their crews are extremely expensive to operate.
I have a theory as to why the incidence of such rescues seems to have increased. Prior to GPS seafarers who didn’t know how to navigate celestially remained close to shore. This was a training ground of sorts. These folks gained experience, and if they opted to go off shore, they invested the time and effort to learn how to use a sextant and sight reduction tables. For better or worse, this is no longer the case, anyone who can push a button can venture off shore. To be clear, I’m not faulting those who don’t know how to use a sextant, clearly it’s a dying art (I haven’t taken my sextant out of its box, other than to occasionally gaze at it lovingly, in years), GPS is a wonderful thing and has probably saved countless lives and prevented innumerable accidents. Still, I believe there is a connection between its proliferation and those being rescued.
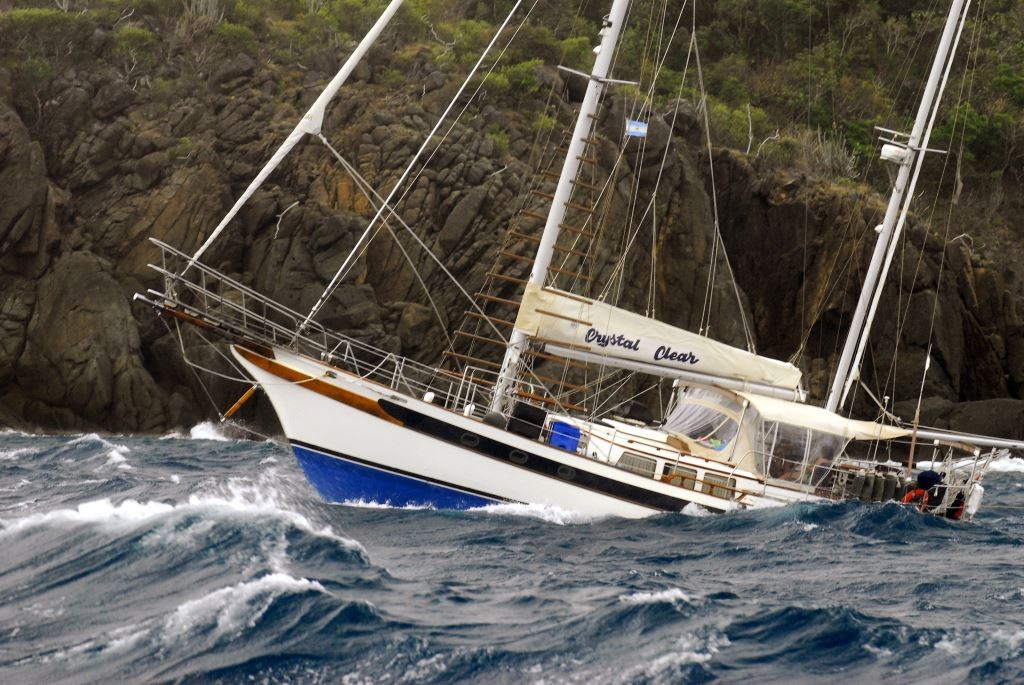
Before setting off on any voyage, know the limitations of your vessel and her crew, and make sound decisions regarding the season and weather
The other half of this electronic equation is the proliferation of EPIRBS. Again, it’s an invaluable tool I heartily embrace, one that has saved many lives. Now, however, seasick, cold, scared crews can press the ‘come get me’ button and a few hours later they are being hoisted to a warm cabin and hot coffee. It’s very tempting no doubt if you’ve gotten yourself into a jam by setting out to sea in mid-winter with an untried vessel.
For those genuinely in peril through no fault of their own, of course none of this applies. However, if these unnecessary incidences continue to occur it’s possible we will see government legislation requiring cruisers to have rescue insurance, something responsible mariners surely don’t want to be forced into. Lastly, good mariners heed readily available weather forecasts; no responsible mariner would consider a voyage in a small vessel, from New England in January even if a gale and blizzard wasn’t in the forecast. Look for an upcoming in-depth analysis of this event by Marine Systems Excellence contributor, author and circumnavigator Ralph Naranjo.
This month’s eMagazine continues on last month’s theme of propellers, covering the ins and outs of propeller removal. I hope you find it both useful and interesting.
SDMC Special Offer

The SDMC Marine Systems Excellence E-zine readers are being offered a special 15% discount on their Top Shelf Marine Products purchase. Please visit www.topshelfmarine.com and upon checkout, enter the promo code SDMC (case sensitive) to receive your discount.
This offer expires April 26th, 2015.
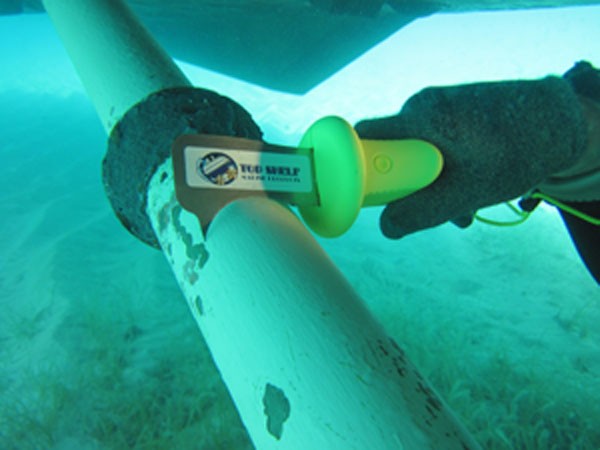
Top Shelf provides unique, specialized products for in the water hull and bottom cleaning,engine room and deck care and maintenance.
Propeller Installation
Steve D’Antonio
Copyright SDMC, Inc. 2015
The lapping process involves rotating the propeller clockwise and counter-clockwise several times on the shaft, then checking the condition of the machinist’s dye to determine the level of interface between the two.
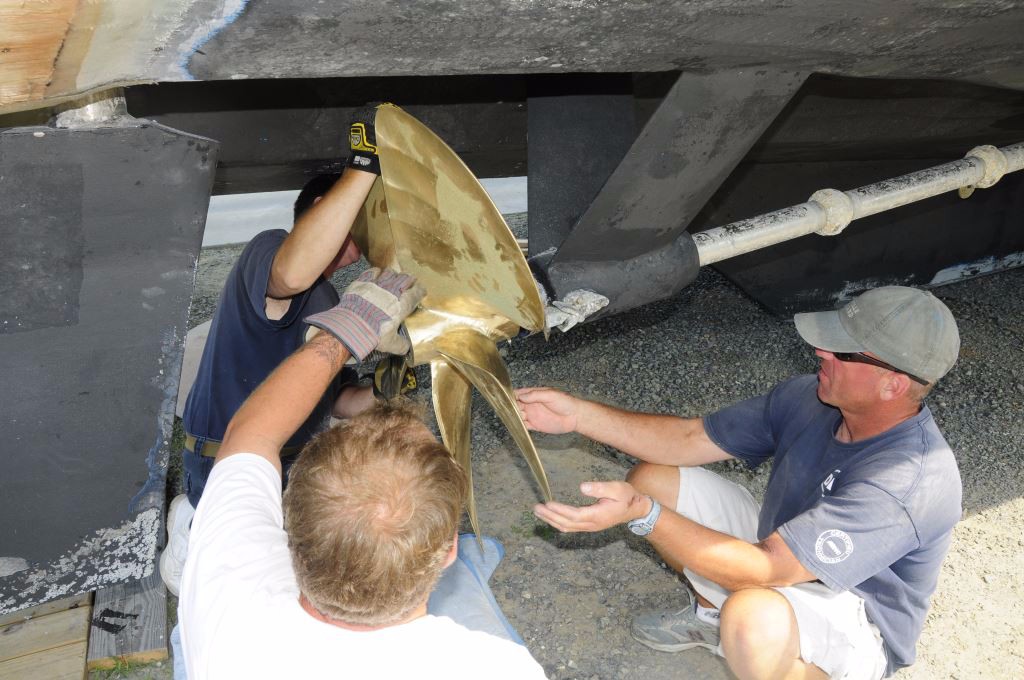
A few years ago I delivered a seminar in which I discussed the procedure for propeller installation. The number of steps involved in executing this process came as a surprise to many of the attendees. In my experience, in roughly three out of four propeller installations the necessary steps are not followed. During the years that I worked as a marine mechanic and then boat yard manager I established a protocol that I believe leads to secure, reliable propeller installation. While you may not undertake this work yourself, you certainly can insist and ensure that others follow these important steps.
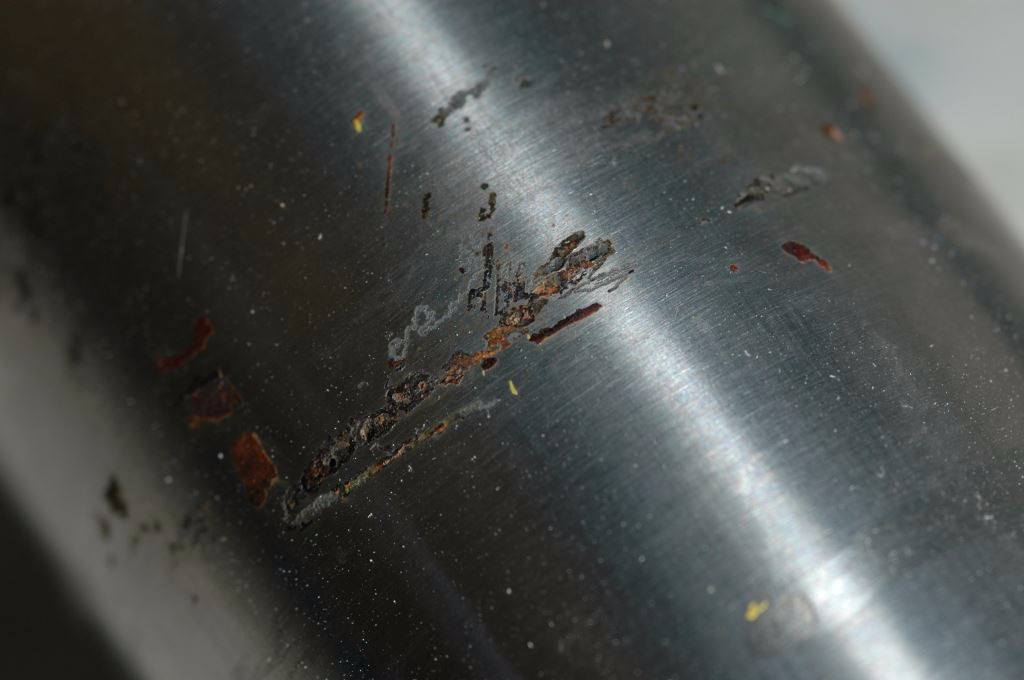
Inspect shaft tapers for any signs of corrosion, pitting, scoring or any irregularity. Pitting, shown here, would require repair or replacement of the shaft.
Inspect both the prop shaft taper and the propeller bore, the cone shaped hole in the center, for dents, scoring, corrosion or defects of any kind. It’s important that these surfaces be clean and free of any irregularities. Be sure to inspect the keyways (the rectangular troughs) on both the shaft and prop as well, along with the key for similar issues.
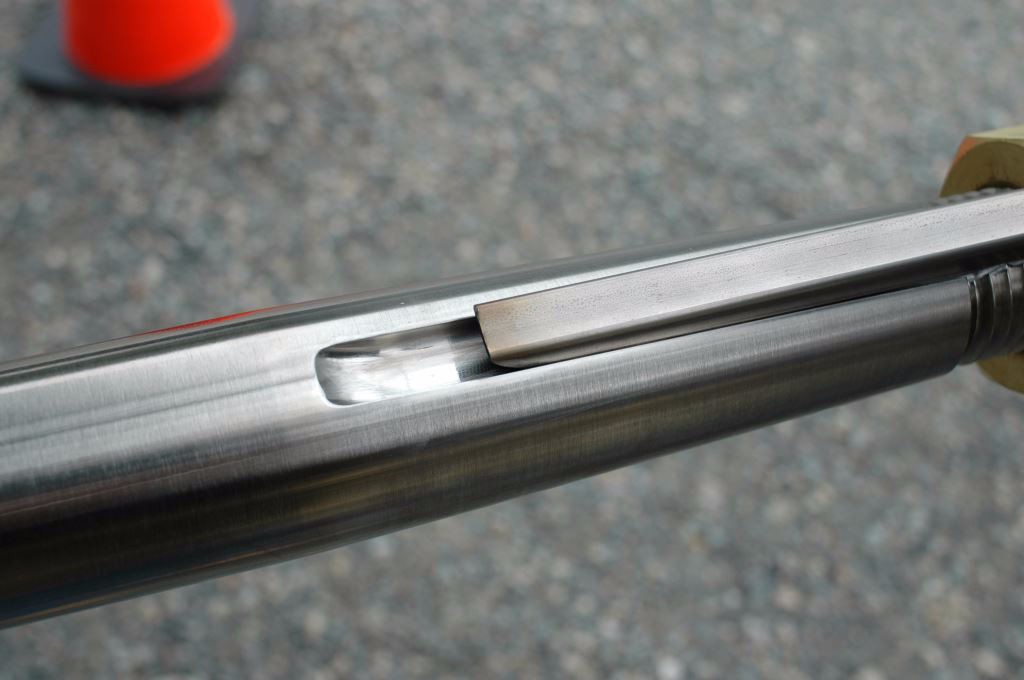
Keys should fit snugly into keyways, not too loose and not too tight. If the key is too loose, the propeller can move independently of the shaft, which in turn will lead to keyway damage.
Keyways should be clean and free of debris or scale, to ensure the key fits properly, and avoids binding of the propeller during installation.
The key should fit into the propeller and shaft keyways with only slight effort, if it’s too loose it will rock, allowing the propeller to move independently of the shaft. If it’s too tight, the propeller might bind while being installed, which will lead to a balance and vibration problem.
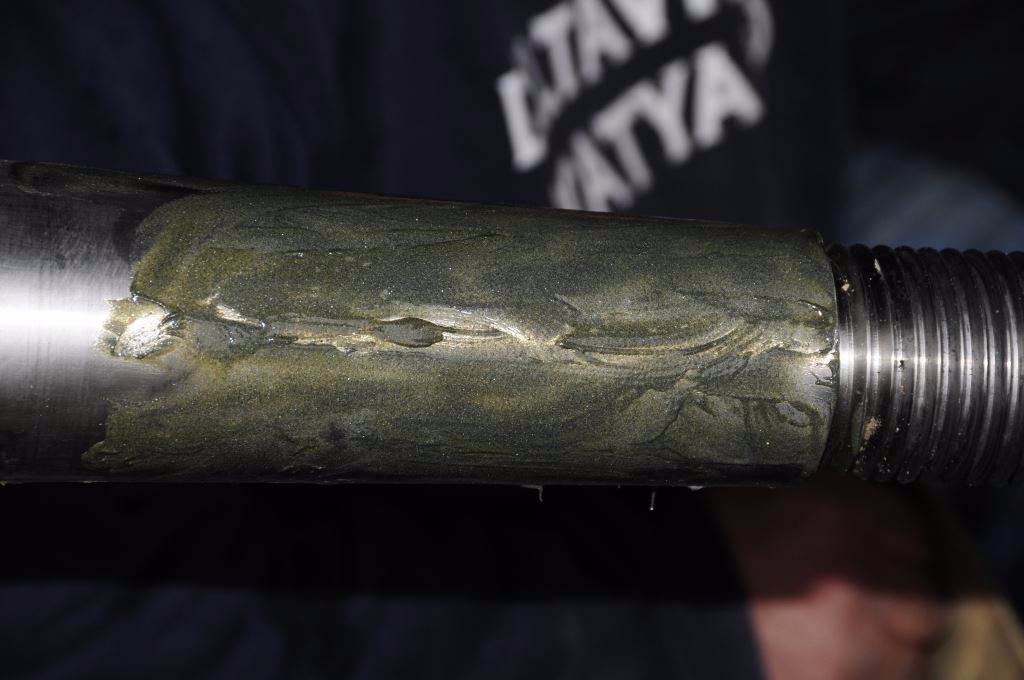
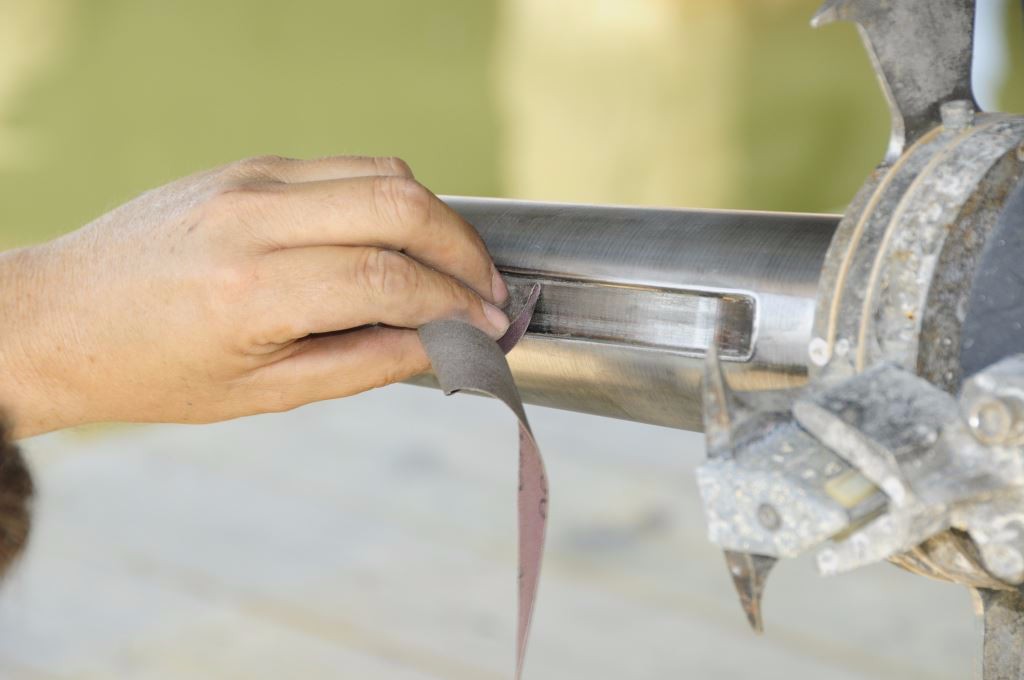
Lapping compound, shown here having been applied to a shaft taper, has the consistency of we sand. It removes material from the prop bore, allowing a custom fit between bore and shat taper.
The first time a propeller is mated up with a shaft, whether both or either are new, they should be lapped to ensure a proper fit. Lapping is essentially custom fitting a prop to a shaft using an abrasive compound that’s designed for installation of intake and exhaust valves in engine cylinder heads. The process involves applying machinists dye or, “Prussian blue”, to the shaft taper, over which the lapping compound is applied; the latter has the consistency of wet sand. The propeller is then placed onto the shaft taper and rotated by hand 180° in either direction a dozen times or so. Doing so grinds away some of the material in the prop bore, establishing a custom fit. The prop is then removed and the lapping compound washed off. The dye that remains tells the installer if he or she has completed the lapping process, roughly 85-90% of the shaft taper should be dye-free or exposing the silver shaft material beneath. If this level of fit has not been achieved, then the process must be repeated until the 85-90% engagement is achieved.
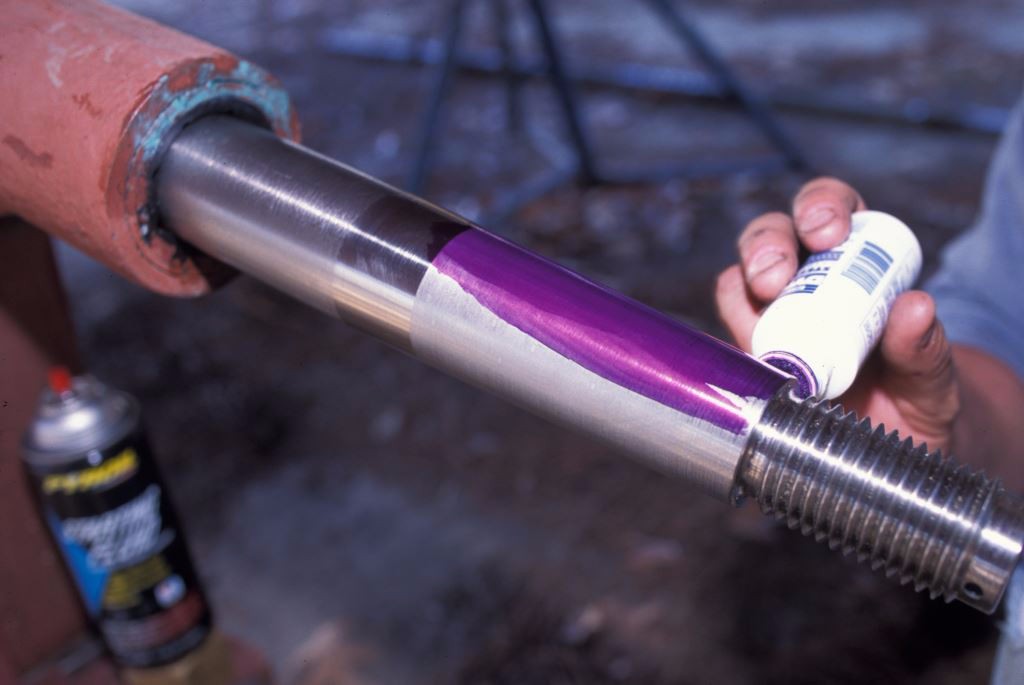

Machinists dye, typically blue or purple, acts as an indicator, determining where the shaft and prop are making contact. The goal is to achieve at 90% contact, which means 90% 0f the dye is removed after successful lapping.
Once the lapping is complete all of the lapping compound should be thoroughly washed from the taper and propeller bore (it’s water soluble). The propeller should then be placed onto the shaft as far as it will go, without the key installed. Using a sharp awl, scribe a line in the shaft at the point where the forward section of the propeller hub ends. Remove the prop, install the key and then apply a light coating of liquid lubricant such as CRC 6-56 or WD 40 to the shaft taper and key. Only a few drops of lubricant are required, don’t overdo it, the purpose for the lube is only reduce the likelihood of binding as the propeller is installed over the shaft, not to aid in propeller removal in the future.
The beauty of the tapered engagement, like the one that’s used for propeller and shaft installations, is that it is designed to ensure both components remain firmly attached to each other, some would say seized or stuck. Little thought should be given to future separation when a propeller is installed; when the correct tools are used, as detailed in last month’s column, it rarely presents a problem. However, problems nearly always arise when an installer, often with good intentions, makes an attempt to ease or aid removal at some point later in the vessel’s life. These well-meaning but ill-fated attempts often involve the use of grease or anti-seize compound applied to the shaft taper during propeller installation. When incompressible, viscous materials of this sort are placed at the interface between otherwise tight-fitting taper and bore, a hydrolock can result, which prevents full engagement of the propeller and the shaft. Utilizing this approach will almost certainly lead to movement between the propeller and shaft once they’ve entered service. This in turn often leads to damaged propeller bores and shaft tapers, sheared keys or loose and in some cases lost propellers. Make no mistake about it; using anything on a shaft taper other than a very light coating of liquid lubricant is simply a recipe for failure, and a violation of most propeller manufacturer installation recommendations.
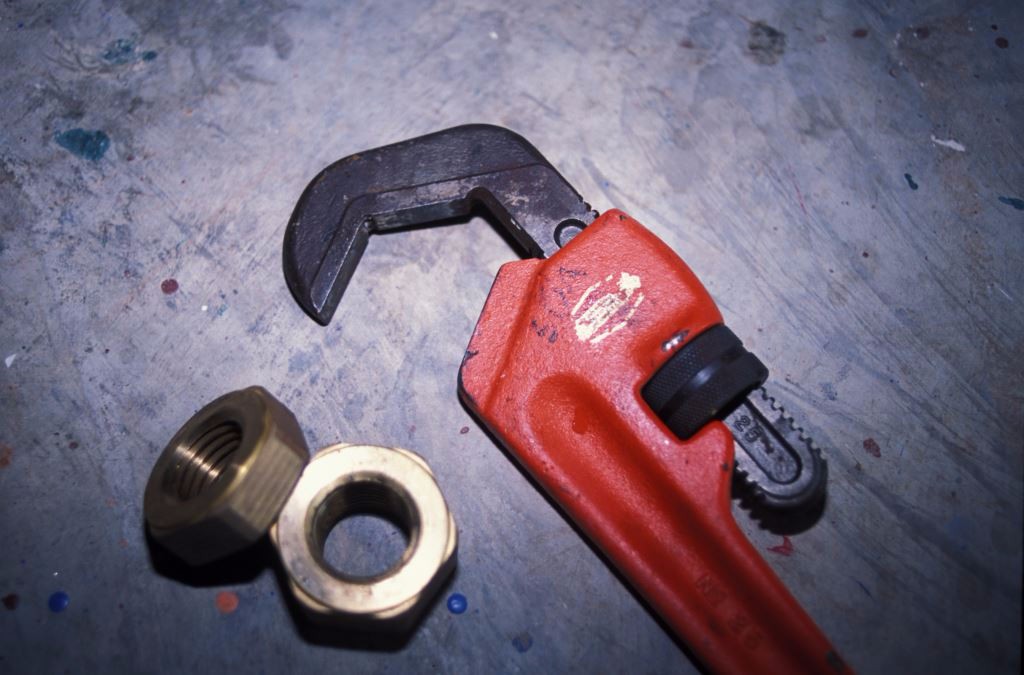
A smooth jaw wrench, shown here, is designed for turning hex nuts, while pipe wrenches rely on sharp, hardened teeth, which are designed to turn pipes by cutting into them. Pipe wrenches should never be used on hex nuts, doing so invariably leads to damage.
The next step calls for the final installation of the propeller onto the propeller shaft. Push the propeller into place and then install the large, full height nut using a smooth jawed, hex wrench. Do not use a pipe wrench, pipe wrenches are deigned to grip round surfaces, like pipes, buy cutting into them with hardened, serrated teeth, the last thing you want to use on a hex nut.
Sidebar: If the nuts are stainless steel, the potential for galling exists. Galling occurs between highly loaded threads,often when they are the same material and especially where stainless steel is concerned. When fasteners are tightened heat is generated and micro-welding occurs, transferring material from one thread to the other, damaging both in the process. It can be prevented with light lubrication, by applying a light coating of lubricant, again 6-56 or WD40, to the threads. For the most part bronze nuts are self-lubricating, and thus immune to this phenomenon; they are, therefore, preferred over stainless steel.

Bronze propeller nuts are self-lubricating and as such less prone to thread galling. The nuts shown here are installed in the correct order, half height nut first, then full height nut.
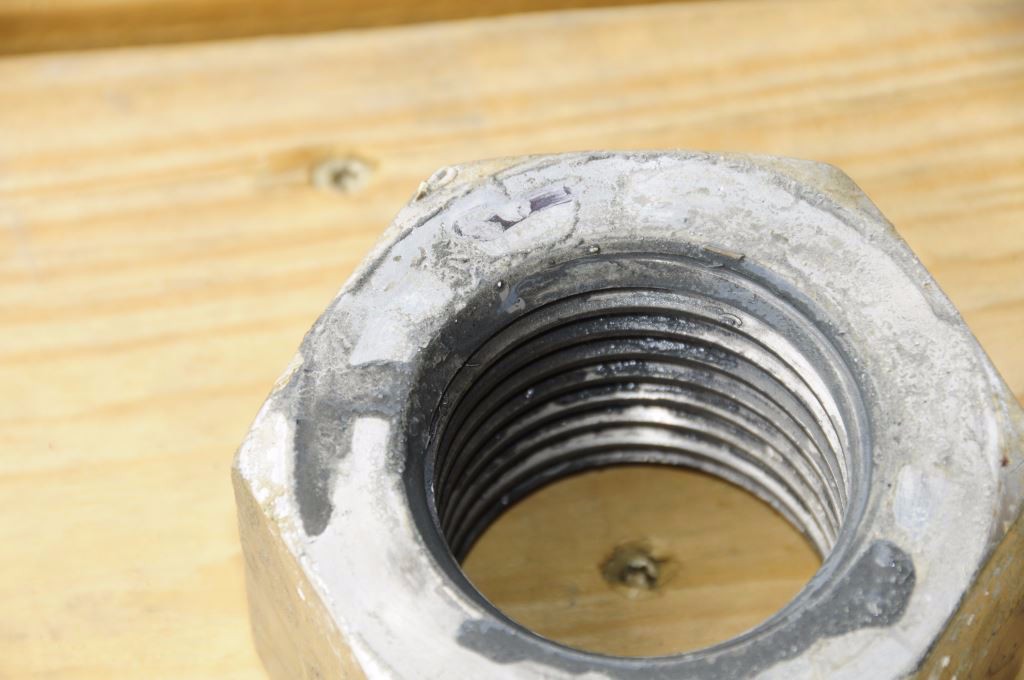
Stainless steel nuts are susceptible to galling, a phenomenon wherein the threads overheat and metal is moved from one thread to the other, when installed on a stainless steel alloy propeller shaft. This can be avoided by lightly lubricating the threads.
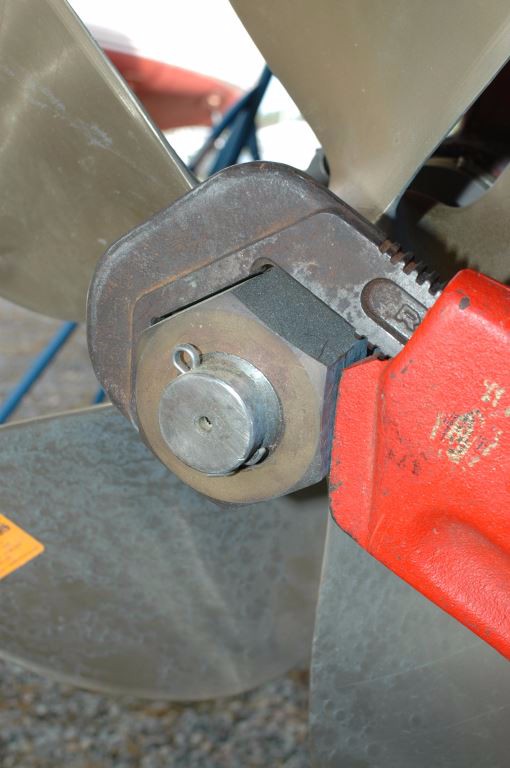
The prop can be held in place by wedging a sturdy block of wood between a propeller blade and the vessel’s hull. While this method sounds crude, it’s well accepted and prescribed by industry experts and propeller manufacturers. Once the large nut is tightened inspect the forward end of the propeller hub to ensure it has reached or overtaken the line scribed in the shaft earlier. If it has, then you can rest assured that the key and taper are not causing any binding. Now, remove the large nut and install the smaller, half height nut, tighten it and then reinstall and tighten the large nut. While this may appear counterintuitive, half height nuts, sometimes known as jam nuts, are often installed last, ABYC, the Society of Automotive Engineers, the USCG and others call for this “small nut first” approach. Here’s why, when the first nut is installed and tightened, it carries the entire load. When the second nut is installed, much of the load is transferred to it and logic dictates that the nut with the most threads should carry the bulk of the load. Installing the large nut first initially draws the shaft fully onto the taper using the maximum number of threads. Finally, install a stainless steel, not brass, cotter pin that is large enough to fill the entire hole in the shaft’s end protrusion. Following these propeller installation guidelines will ensure that the prop stays put until there’s a good reason to have it removed.
For more commentary and specifications regarding propeller nut installations, please open this PDF, Prop Nuts.
For more information on the services provided by Steve D’Antonio Marine Consulting, Inc. please e mail Steve at info@stevedmarineconsulting.com or call 804-776-0981