
Photo Essay: Stainless Washer in Current Path
This is a phenomenon I encounter often, and while it’s anecdotal, occurrences seem to be on the rise. Vessels are becoming more electrically intensive, with larger battery banks, inverters and battery chargers, which may account for this seeming increase.
This defect is especially insidious, in that it is very difficult to identify visually unless you know exactly what you are looking for, which is, in part, the reason I’ve decided to write this column.
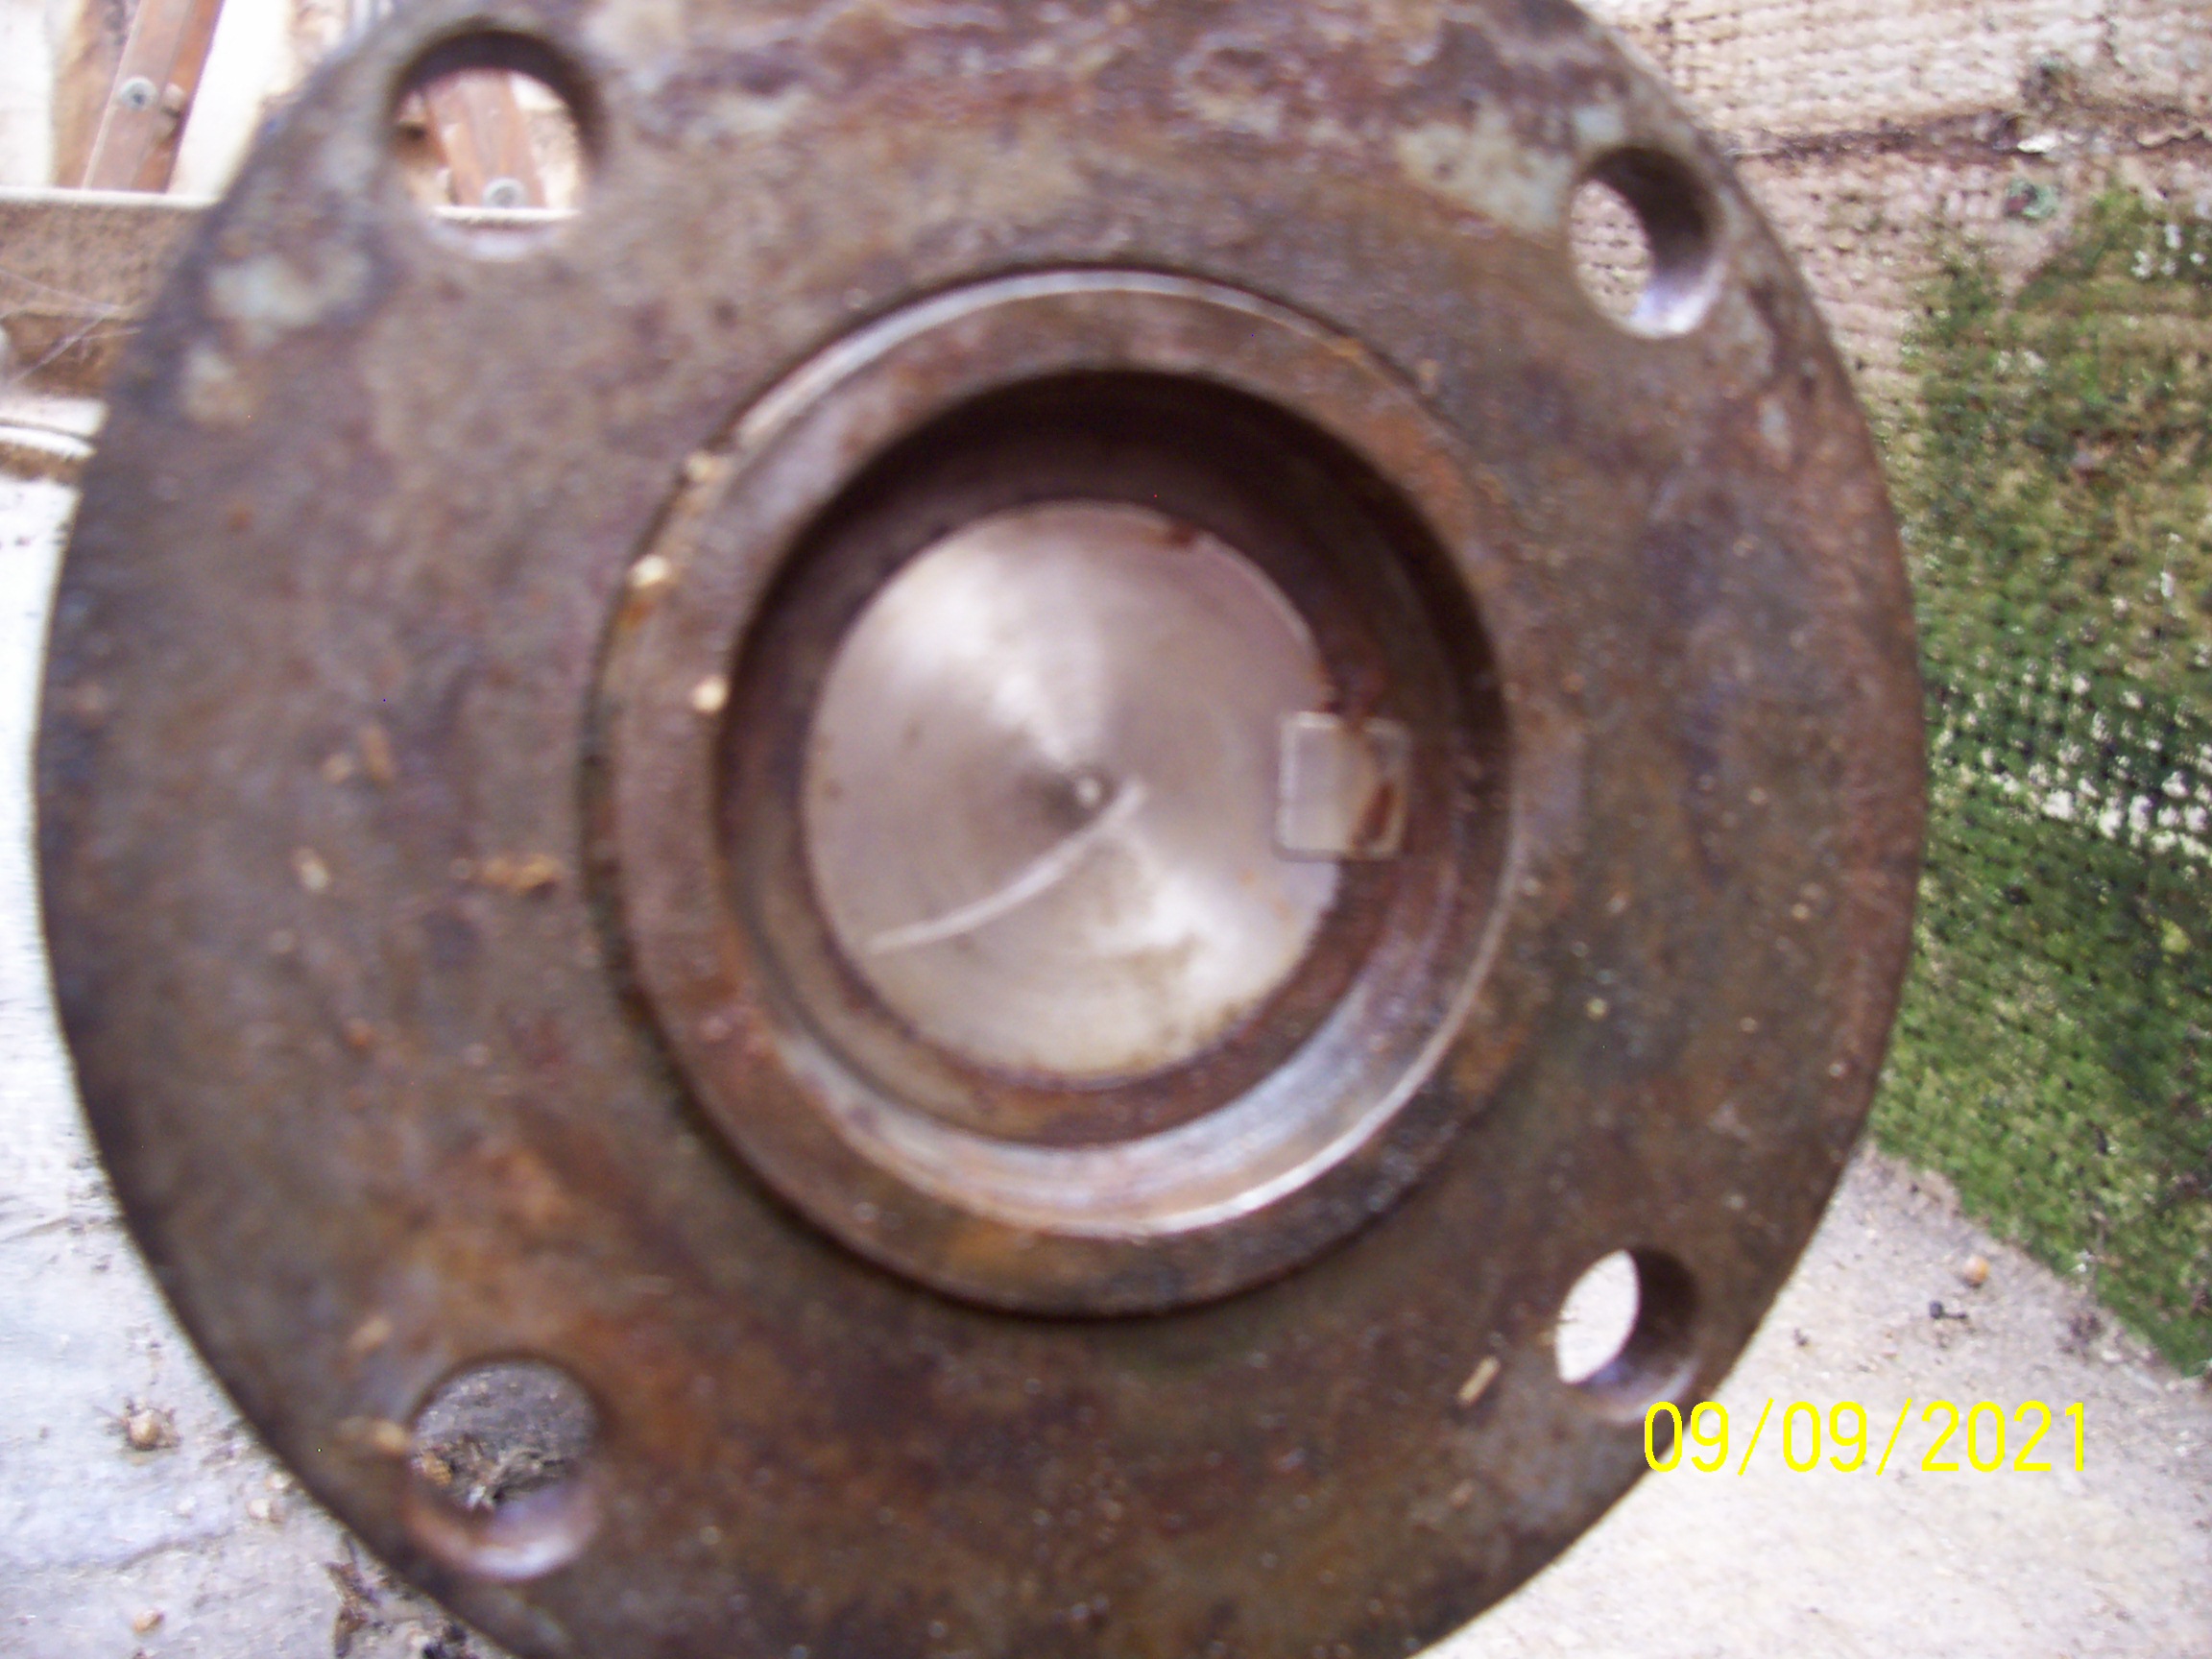
The conductivity of stainless (and mild) steel is significantly lower than copper for the same mass. When a stainless-steel washer is placed in the current path, sometimes by accident, or in other cases by those believing they are improving the installation, particularly where high current is present, like that found with inverters, large battery banks, high output alternators, thrusters, winches, etc., the higher resistance of the stainless steel causes its temperature to rise. With each heating cycle comes expansion and contraction, which in turn leads to loosening of the connection, and that in turn leads to arcing. In the best-case scenario, the device being supplied by the defective connection simply malfunctions or stops working altogether. In the worst case, it can lead to a fire.
In the accompanying image, a washer has been placed between the fuse and the fuse holder, i.e., in the current path. Look closely at all ring terminal connections, particularly those supplying power to or from high current devices, to make certain washers are not in the current path.
Ask Steve
Dear Mr. D’Antonio,
I have read articles by you, most recently propeller installation in the Professional BoatBuilder #198. I am an amateur boat rebuilder who has worked mostly with boats that use outboards or stern-drives. Currently, I am rebuilding a 1979 32’ Island Gypsy trawler. To say it was a mess might be an understatement.
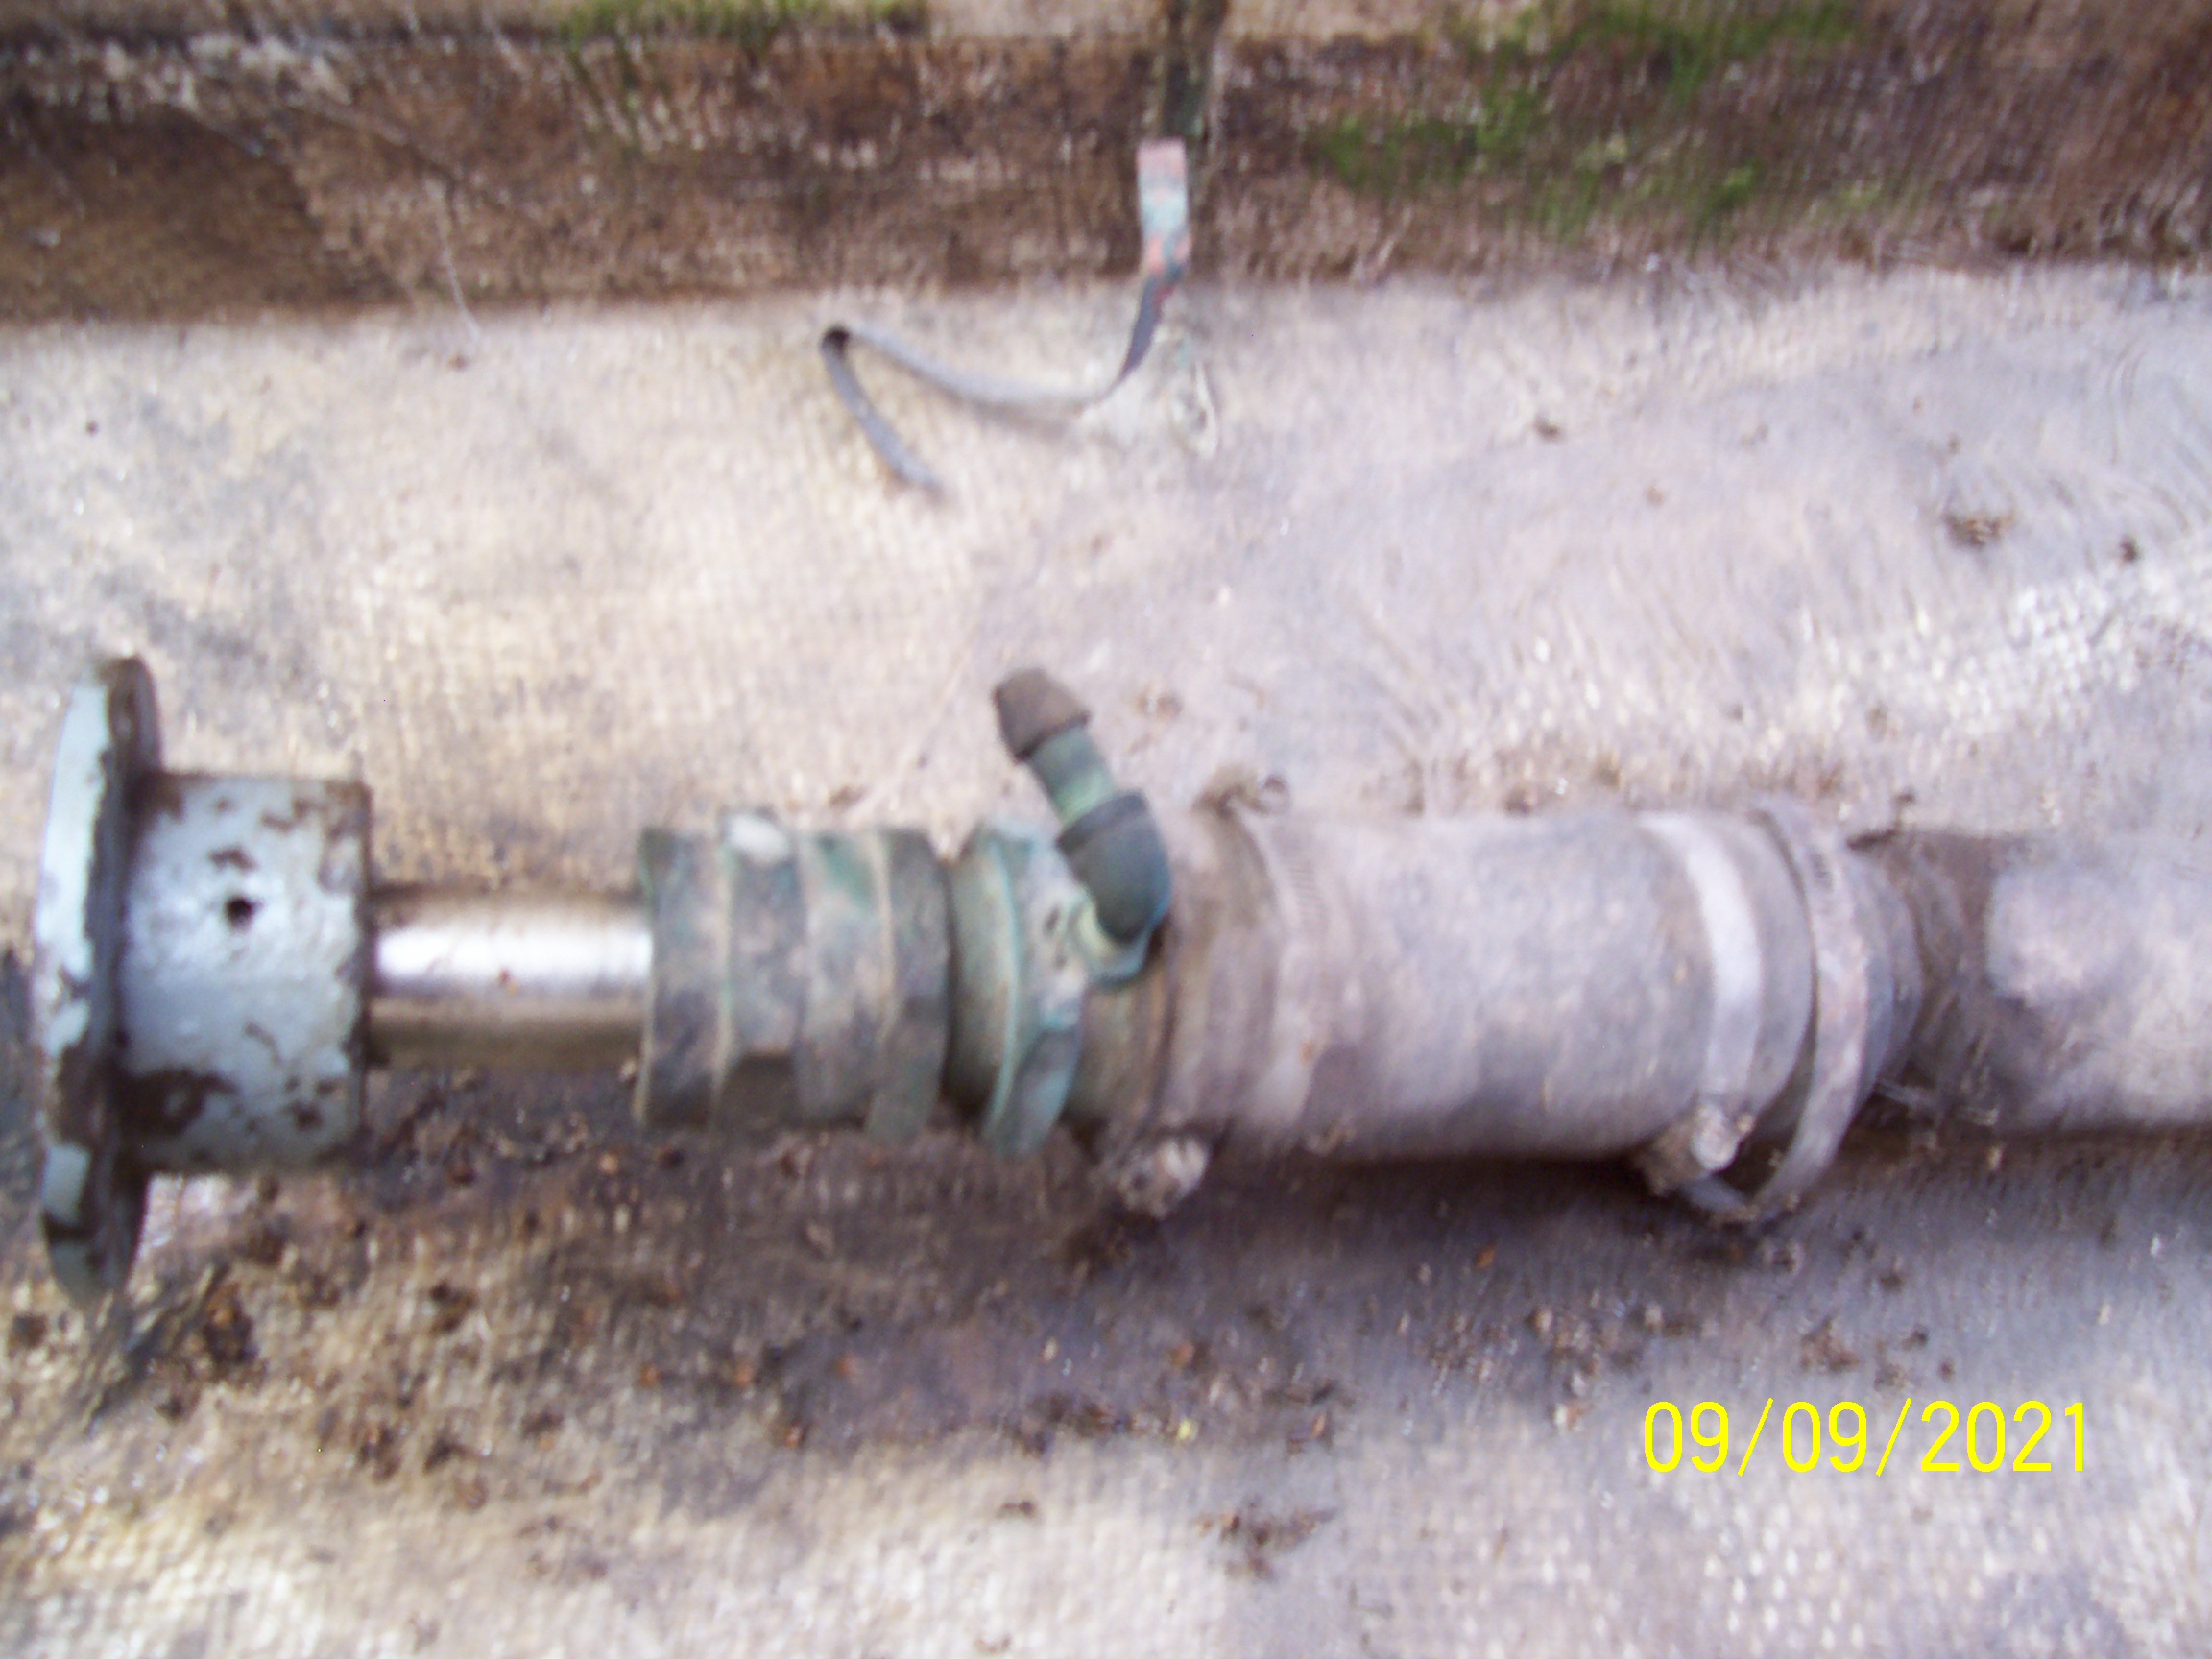
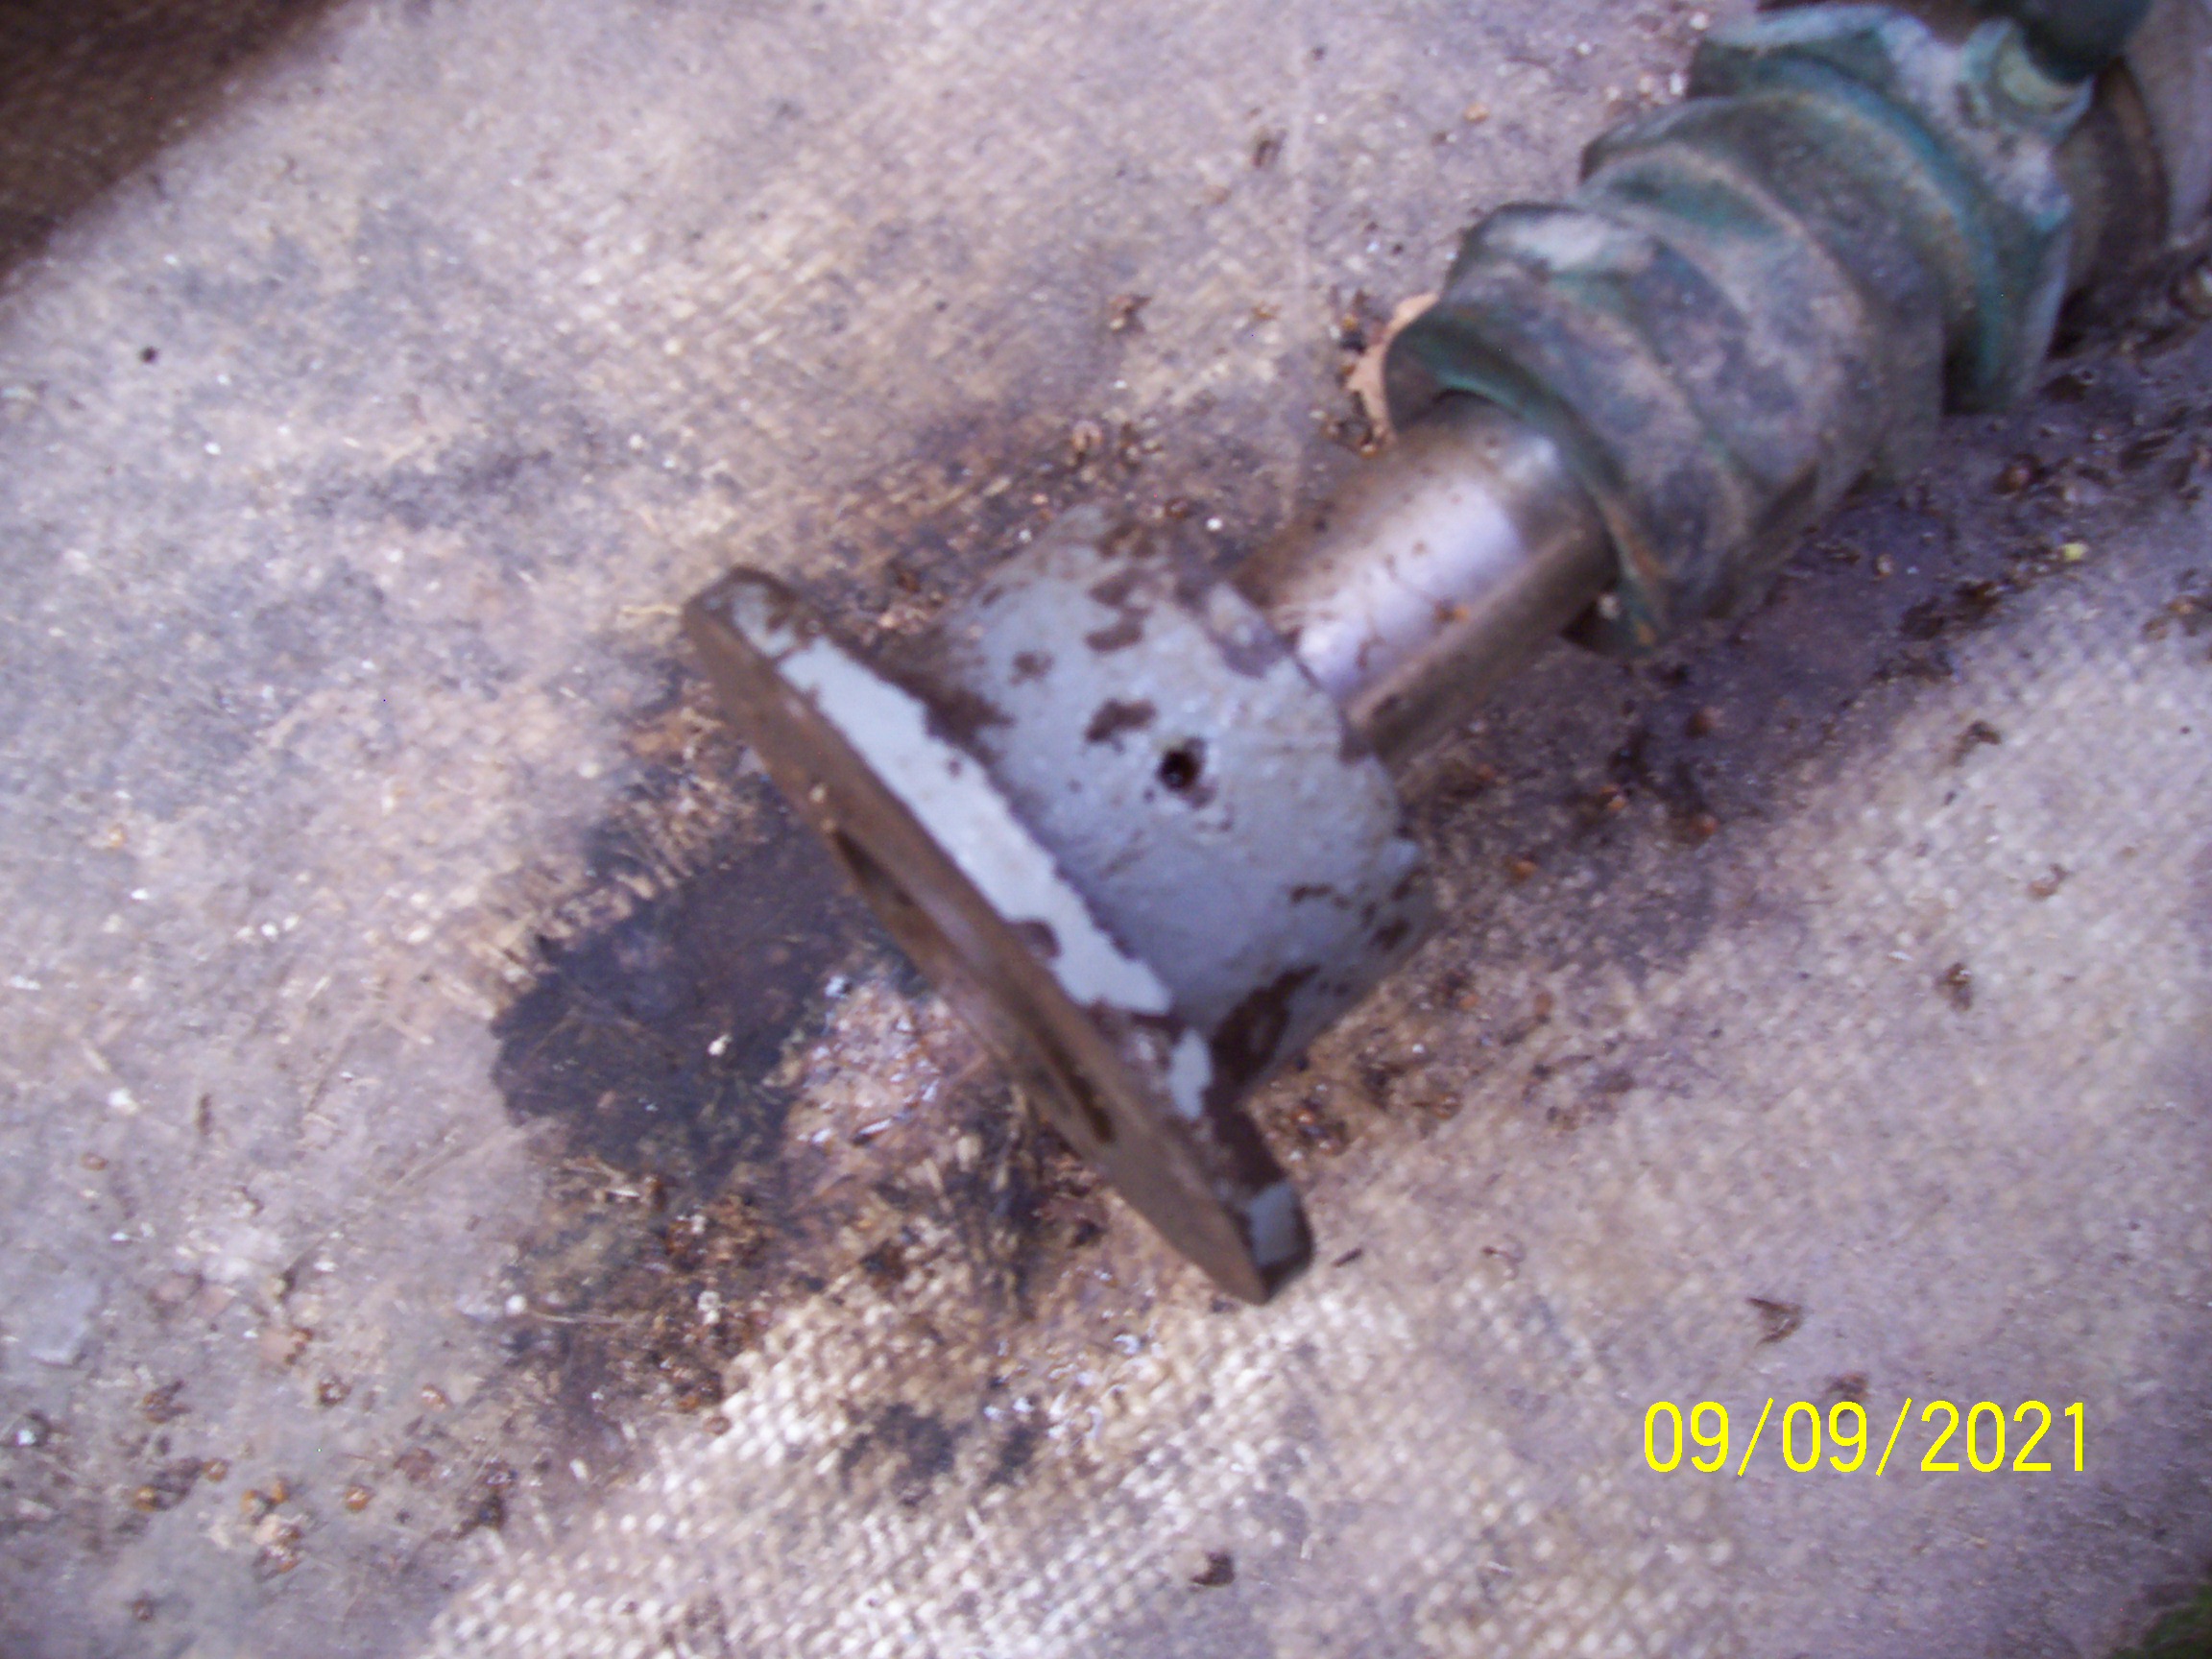
I am having trouble with the drive system and write you for advice (or possibly direction where I can read info), I have attached pictures of the coupler end at the engine. I have been unable to remove this coupler despite several attempts with lots of PB Blaster. I think I need to remove the shaft to at least replace the stuffing box. I also think I need to replace the cutlass bearings at both ends. I can’t imagine that they might still be good. That is something that scares me a bit. I am going to try to remove the shaft by removing the propeller and then removing the shaft forward. Any thoughts you might have, ideas, directions, or information sources would be appreciated.
Sincerely submitted,
Rick Schuch
Rick:
I’m afraid all of your photos are out of focus, so I am unable to discern much detail. There appears to be a set screw or drift pin in the coupling; I assume that’s been removed? The coupling pilot bushing also appears to be dinged, that will need to be cleaned up by a machine shop. Once separated, the coupling should be fit to the shaft and faced before it is reinstalled.
There are proprietary coupling press tools, one is available from Durant Machine. However, you can make your own coupling puller using a set of grade 8 bolts, a piece of 3/8” steel plate and a drift (you can use a socket). The plate is drilled with a hole pattern to match the coupling, and the bolts passed through both sets of holes, with the socket against the shaft. Lubricate the bolt threads and tighten the nuts evenly, this should push the shaft out of the coupling bore, some heat applied to the coupling may accelerate the process.
You might find this article of interest as well.
Follow up…
Steve,
Thanks for the previous answers. I am progressing with my project.
After reading your articles on dripless and old stuffing boxes I am going to clean up and use the old stuffing box, however I have two questions.
There is a nipple on the piece that is attached to the shaft log in the bottom of the boat with the large rubber hose. See picture below. From what I read this should be attached to some source of water pressure. It was attached to nothing when I took the old engine out and was plugged. I could plumb it so that the raw water after the raw water pump had a “T” to this nipple and I could put a valve in line to this nipple to control pressure but I don’t know if this is OK and how much water pressure should be delivered to this nipple? Also, there are numerous types of packing available; all look better than original stuffing but which one to buy? I suppose the one with some Teflon might be best? As always, thanks. I took the 1 1/2-inch drive shaft to my favorite machine shop and they repaired the pitting (there was quite a bit) and then put the shaft in a lathe and machined it.
Rick Schuch
Rick:
These fittings appear to be made from common plumbing parts. If any of these are brass, it should not be used as brass is not suited for raw water applications. More on that subject here.
Most conventional stuffing boxes do not need water injection, so I suspect this is unnecessary especially on your slow, displacement sailing vessel, and it was disabled in any event.
You can learn more about conventional stuffing boxes here.
The debate regarding packing types is a hot one, be careful making your selection, too much of a good thing (staying dry) can prove to be a problem. The shaft needs water for lubrication at the packing. Again, for a slow vessel, conventional packing can usually be adjusted for a minimal, and sometimes no, drip, while remaining cool. If you use an exotic packing, like Teflon, this is usually a single wrap interspersed between two conventional rings of packing. When adjusting, the infrared pyrometer is your friend.
Hi Steve,
Our 1984 Hatteras has the standard forward and starboard side black water holding tanks. Our only means to empty these is via a dockside deck pump out fittings.
Have you any suggestions or experience with installing a system to pump out such as in the Bahamas which lacks dockside facilities?
Thanks!
David Randall
David:
Using a Y valve, you could plumb an overboard discharge pump into the tank’s existing deck pump out hose. When you want to discharge overboard, you’d simply have to make certain the Y valve was in the overboard position.
Alternatively, you could install a separate pick-up pipe into your holding tank and use that to feed the overboard discharge pump, keeping the two system separate and eliminating the Y valve. When you pump overboard, be sure you are doing so in accordance with local, and Coast Guard, or regional regulations.
Steve,
We own a 48’ Bruce Marek designed custom sailboat purchased in 2014 (home port is Annapolis, MD and we cruise the Chesapeake/east coast). Several years ago, I replaced the air conditioning raw water pump and all hoses, the strainer and pipe fittings (see attached photo of the install). I used 316 SS pipe for all the connections as it was available in a multitude of threaded lengths and facilitated fitting everything in the shallow bilges and confined spaces. When it was done, it looked great and operated very well.
Now after several years of operation, I’m seeing some seepage through a couple of the stainless-steel threaded fittings (I used pipe dope to seal the fittings). There’s some iron rust evident at the seepage points. This is high grade 316 stainless (from McMaster-Carr) and isn’t supposed to rust.
So, what is going on here, and what could be a remedy?
Best regards,
Ron & Ellen Kraus
Ron:
As you and many others have discovered, stainless steel is far from corrosion-proof, and it is only marginally corrosion-resistant if used under the right circumstances. In applications where it is continuously immersed in water, which becomes stagnant and oxygen depleted, in your case raw water plumbing, even AISI 316 is susceptible to crevice corrosion.
I council boat builders and yards to use stainless steel, plumbing and fasteners in particular, in below the waterline applications with caution, and only as a last resort. Bronze, and reinforced non-metallic, pluming and fasteners are preferred in these applications.
More on the subject in these articles…
https://stevedmarineconsulting.com/stainless-steel-miracle-metal/

